


1. Introduction
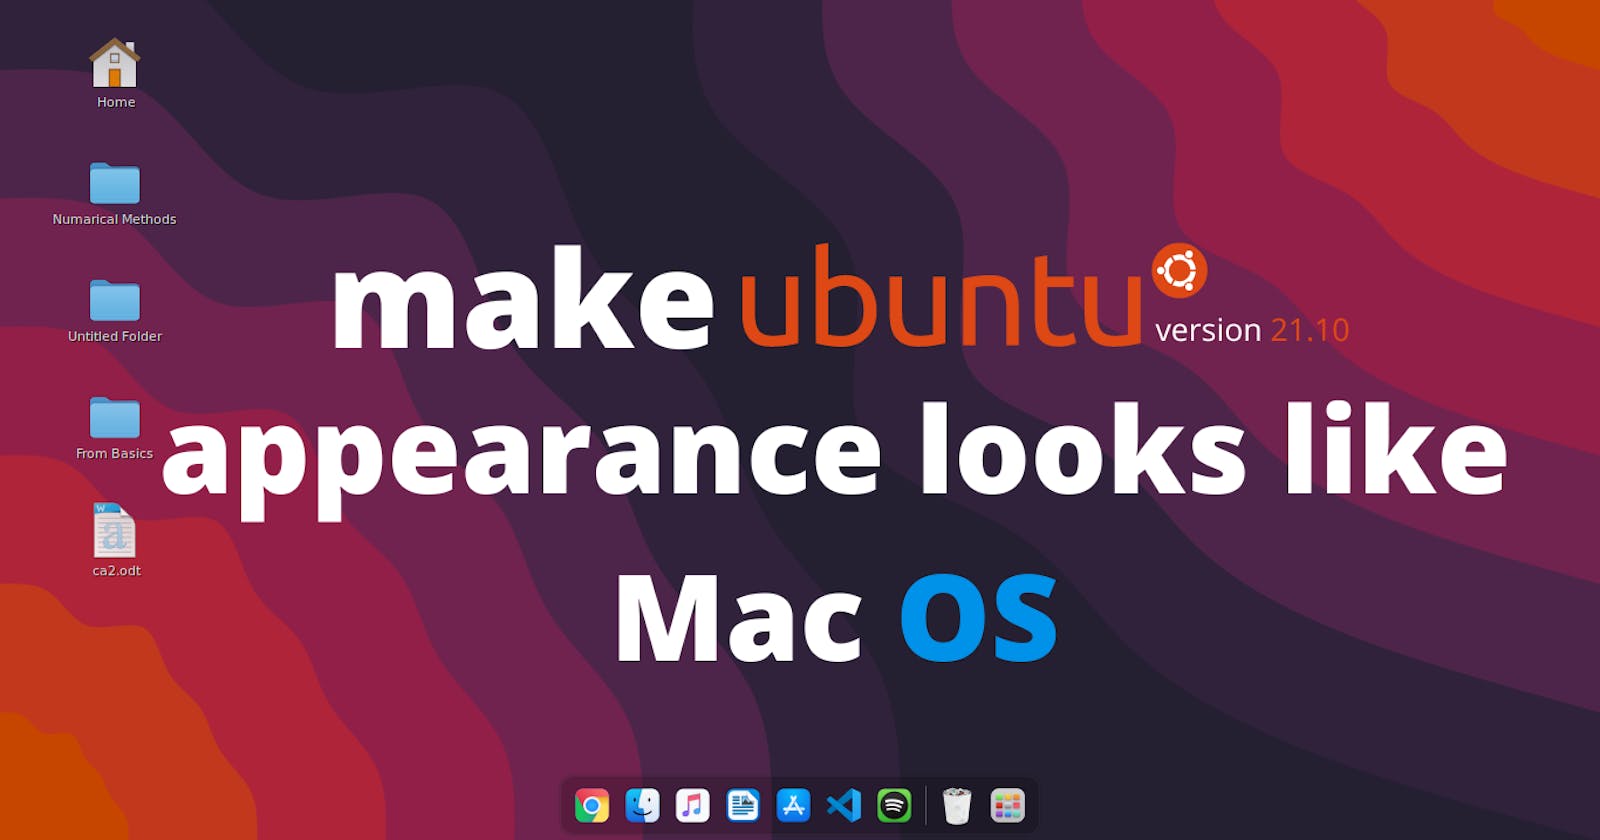
This is the step-by-step customization from basic default Gnome customization to looks like Mac OS Catalina. I'm using Ubuntu distribution version 21.10, let us get started.
2. Update the System
Open up the terminal window or press ctrl+alt+t and type the following command
sudo apt update && sudo apt upgrade
If it asks for your desktop password (if you have one), enter it and do update your system.
3. Install Shell Extention+ Tweaks
Type the following commands
sudo apt-add-repository universe
sudo apt install gnome-tweak-tool
sudo apt install gnome-shell-extensions
without this sudo apt-add-repository universe , you will be unable to install the gnome-tweak-tool.
 After installation, You should be able to see the icon in your application menu after installation.
Now we'll download the themes from the browser.
4. Installing Extensions Pack
Now, download all of the extensions that we require accordingly.
Make sure that all of the extensions are switched from Off to On. At the first time, it downloads the packages of the extensions in your system.
// Floating Dock by fmoreira
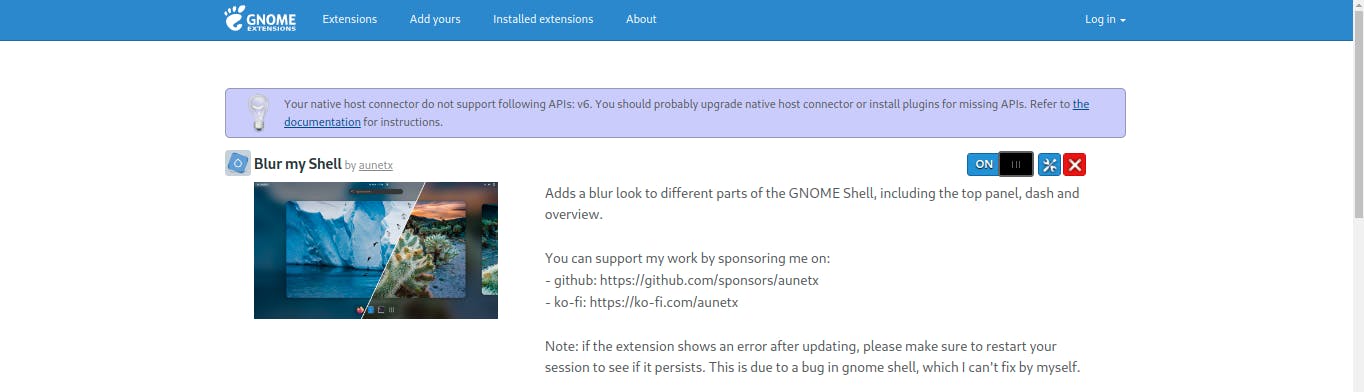
// Blur my Shell by aunetx
// Frippery Applications Menu by rmyorston
// Frippery Move Clock by rmyorston
// Panel corners by aunetx
// Transparent Topbar by enrico.sorio
// User Themes by fmuellner
And one small tip, check out the other cool extensions on the website; you might like them and try them out on your own.
// WhiteSur Gtk Theme
// Icon Theme
// WhiteSur Shell
5. Changing the location of the file
In the file manager extract the tar.xz files that you previously downloaded. Now in the terminal window, type the following command, this command will open the filesystem root manager.
sudo nautilus
Navigate to the File System root, click the search icon, and type or you can directly jump into the directory by navigating
/ur/share/themes/
Now drag & drop the WhiteSur Gtk Theme file into the theme folder.
Again search for the icons folder
/ur/share/icons/
Now drag & drop the Mkos-Big-Sur file into the icon folder.
Open a new file manager window and navigate to the Home section. Press ctrl+h or go to the 3 dot option and checkmark the Show Hidden Files option.
Make a new folder and name it .themes and then drag & drop the WhiteSur Shell file in it.
You can close the file manager window and the terminal now
6. Applying changes to the appearance
Now, open the Tweaks tool and navigate to the Appearance section.
There in the application options, You should be able to see the whitesur-dark/whitesur-white(depends on which theme you have chosen) and select it.
In the same way change the icon and shell section with Mkos-Big-Sur, WhiteSur-dark/white.
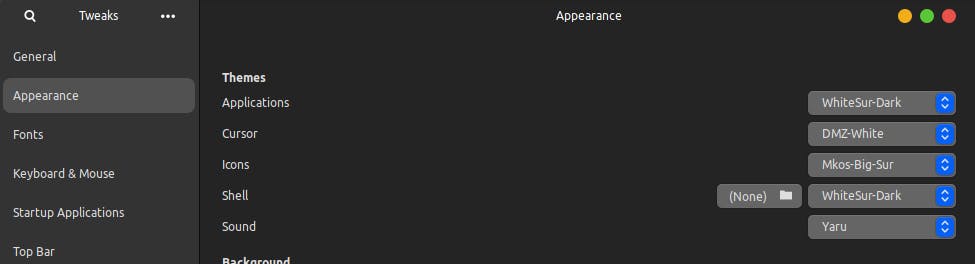
You should be able to see the changes in your gnome theme
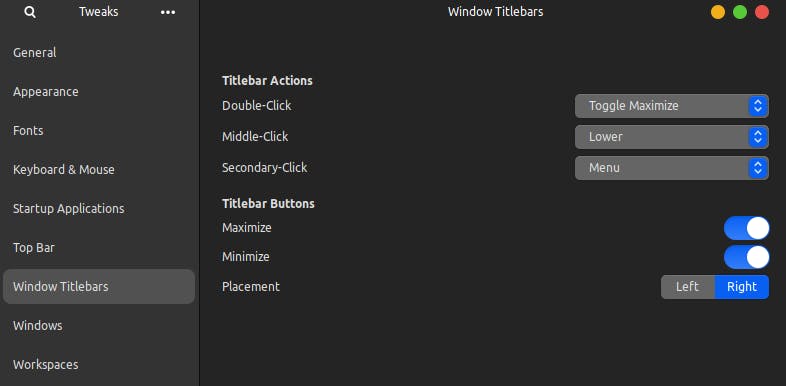
You can change the Window Titlebars placement to the left as the Mac OS has but I'm not used to it, mine is set to the right :)
7. Extensions
Now search for Extensions in your application menu and open it
toggle off the previous or default options in the extensions.

Toggle on the extensions shown in the screenshot. You have already installed and extracted the extension pack. If something you found missing check the extension packs links before and make sure that you have extracted all tar.xz files.
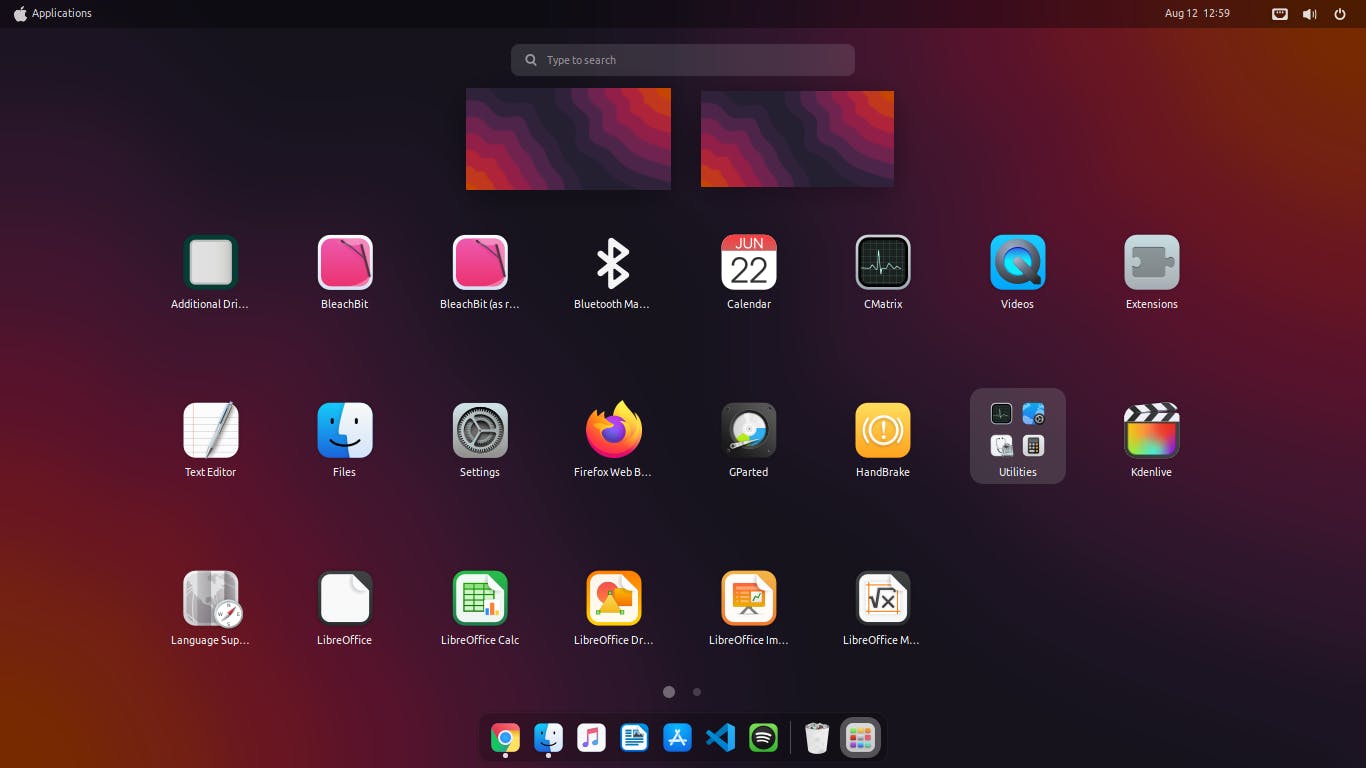
One more thing, as you can see besides the toggle options there's a
settingsicon in some extensions. Make sure to use it to change the appearance as you are fine with that.
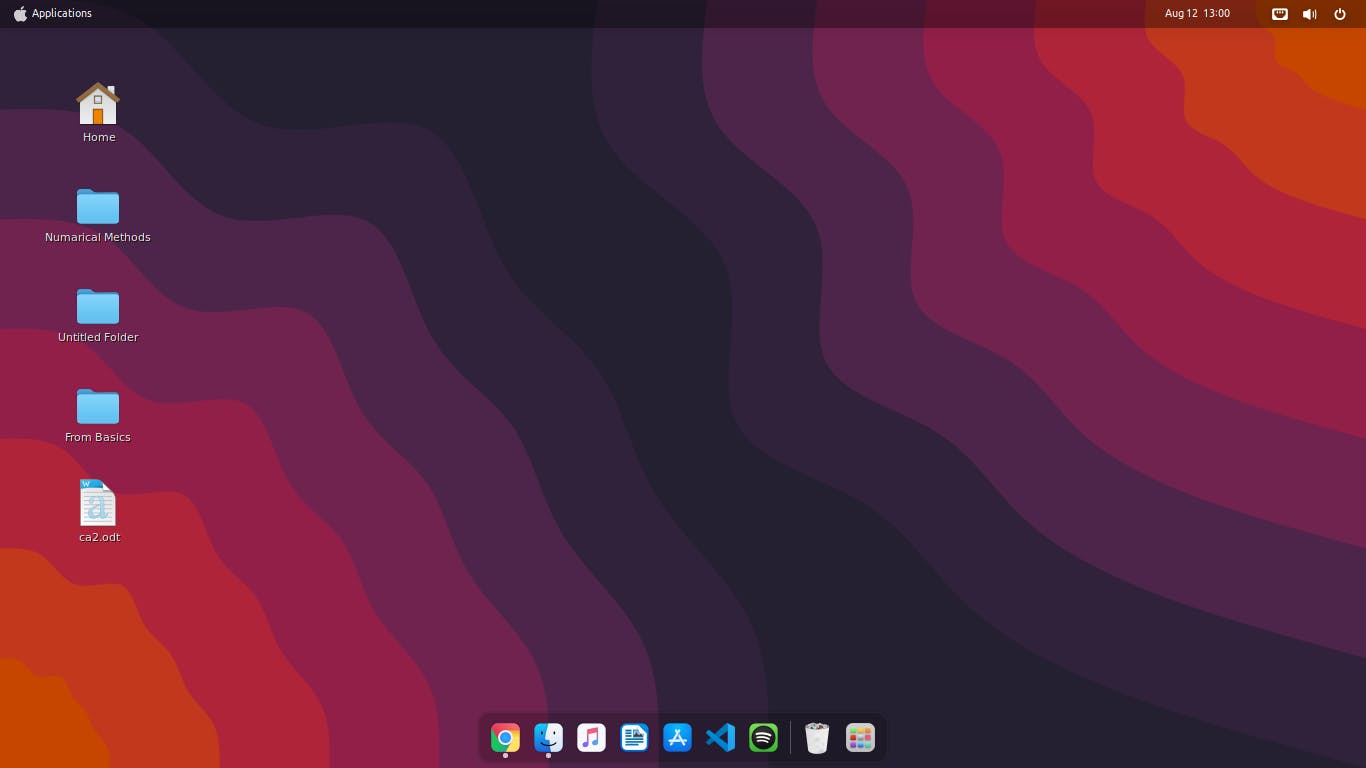
You've made it this far; your appearance should now be similar to that of Mac OS Catalina. Also, be sure to look into other extensions. If you think this blog has been useful to you, share it with your friends and check out my socials also.
Check out my other posts...